
Waking up to a wet patch on your basement carpet? That sinking feeling isn’t just in your gut—water inside your foundation is a red flag you can’t ignore. Interior leaks wreak havoc fast: ruined walls, musty smells, warped floors, and even electrical problems pile on if you don’t tackle the issue early.
Here’s the truth: most people spot the water but miss all the weird clues leading up to it. If you see bubbling paint, white chalky lines along your basement wall, or that persistent earthy smell, you might be dealing with way more than a spilled drink. The source is often sneaky—tiny cracks, clogged gutters, or just too much rain hitting one side of your home.
The good news? You don’t need a construction diploma to keep your foundation dry. With some attention to odd details and a few easy steps, you can cut the risk of leaks before they flood your space. This guide breaks down why water gets in, what quick fixes work in a pinch, and how to stop it from returning. Let’s get things sorted before you need a canoe to cross your basement.
- How to Spot a Foundation Leak from the Inside
- Why is My Foundation Leaking?
- Quick Fixes You Can Do Right Now
- Permanent Solutions for Stopping Leaks
- When Should You Call in a Pro?
- Keeping Your Foundation Dry for the Long Run
How to Spot a Foundation Leak from the Inside
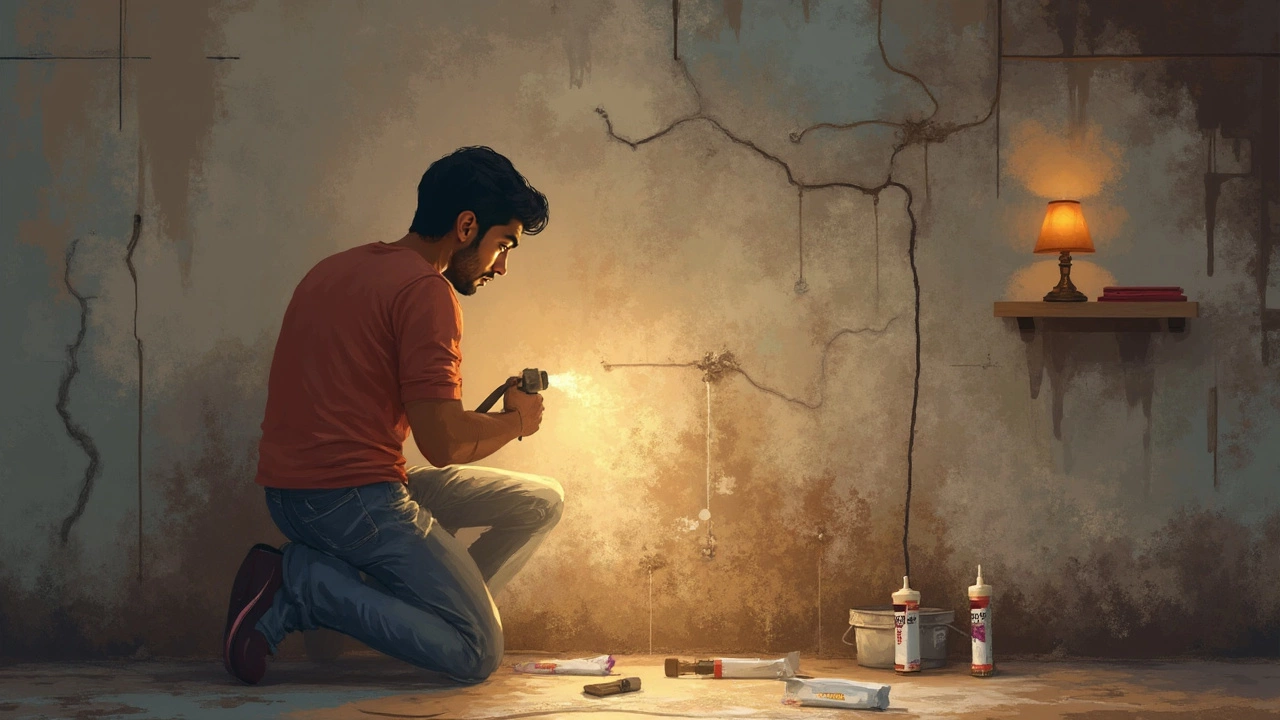
Seeing water on your basement floor looks bad, but the real trouble starts way before it gets to that. Foundation leaks are like silent ninjas creeping in from places you least expect. Most folks wait for obvious puddles, but there are way sneakier warning signs you shouldn't ignore.
The first thing to notice? Smell. Damp, musty odors stick around even if you wipe up the water. That’s mold or mildew growing in places you can’t see. Next, check the walls for discolored patches, flaking paint, or white powdery streaks (those streaks are called efflorescence). All of these are clues water is slipping in where it shouldn’t.
You might also spot:
- Cracks in the wall or floor—thin, hairline cracks matter too, not just big ones.
- Rusty spots on metal fixtures or appliances.
- Warped wood, loose carpet, or baseboards that look swollen.
- Odd cold spots in the wall during rainy seasons.
Don’t skip these checks right after a heavy rain or when snow melts. That’s prime time for leaks to show up. If you have a finished basement, pull back a corner of carpet or check behind storage boxes. Water loves to hide.
| Warning Sign | What it Shows |
|---|---|
| Musty Smell | Mold or moisture trapped inside |
| Paint Peeling | Water pushing through concrete walls |
| Efflorescence | Mineral salts left from water movement |
| Wall/Floor Cracks | Possible water entry points |
| Rust Stains | Continuous water exposure to metal |
Here’s a tip: grab a piece of foil and tape it flat against a basement wall for a day or two. If water shows up on the inside of the foil, moisture is coming in through the wall—not just from indoor humidity.
If you ignore the less obvious hints, the foundation leak will get worse every season. Stay alert to these early signs so you can act before the damage turns serious and expensive.
Why is My Foundation Leaking?
If your basement floor feels squishy or you spot strange water stains, there’s always a reason behind it. Most foundation leaks start when water finds an easy path in, and it’s usually your house giving it that green light.
Let’s break down the main culprits:
- Cracks in the foundation: Even the smallest crack can become a big deal once water pressure rises after heavy rain. Tiny hairline splits might not look dangerous, but they invite water to slip inside, bit by bit.
- Poor drainage: If your yard slopes toward your house or your gutters dump water next to the foundation, that water has nowhere else to go but inside. Soaked soil puts extra stress on your walls until something gives.
- Clogged gutters and downspouts: When leaves or debris block these, rainwater spills straight down and pools by your foundation. The more water lingers, the more likely it finds a way through.
- Hydrostatic pressure: After days of wet weather, water builds up in the soil, pressing hard against your basement walls. That weight pushes moisture through cracks, joints, or even right through the concrete itself.
- Poor waterproofing: Old houses especially may not have had proper waterproof coatings applied on the outside of the foundation, making them easy targets for leaks.
The not-so-fun fact is, even a brand-new home can get leaks if the soil settles weirdly after construction or if the contractor skimped on drainage. It’s rarely a one-time mistake—usually, it’s a mix of small issues stacking up over time until the problem finally appears inside.
If you don’t tackle the reason for the leak, patching the inside is just a short-term fix. Find what’s truly letting water in, and you’ll save yourself a ton of stress (and money) down the road.
Quick Fixes You Can Do Right Now
Caught water sneaking in and want to stop the problem before it gets worse? There are some things you can do today—literally right now—that help defend against a foundation leak from the inside. Most of these take regular tools, a little elbow grease, and maybe a trip to your local hardware store.
- Seal visible cracks: Get a tube of concrete or masonry caulk and squeeze it into cracks you see along floors and walls. If water is actively coming in, hydraulic cement works even better since it expands as it dries, blocking leaks fast.
- Wipe up standing water, then dry out: Don’t just mop—get a fan or dehumidifier running to pull moisture out of the air. The faster you get things dry, the less chance you’ll get mold or permanent damage.
- Check your downspouts: If gutters dump water next to your foundation, slap an extension on your downspout to send water at least 6 feet away from your house. This prevents “repeat offenders.”
- Move stuff away from the walls: Cardboard boxes and furniture suck up moisture and hide leaks. Pull things a few feet out from basement walls so you can keep an eye on suspicious spots.
- Clear those window wells: Leaves and gunk collect in basement window wells, making perfect little bathtubs in a heavy rain. Scoop out debris so water can drain during storms.
Don’t just take my word for it. According to the American Society of Home Inspectors:
“About 60% of homes experience below-ground wetness. Most water entry can be reduced immediately by redirecting surface water and sealing trouble spots.”
None of these are permanent solutions, but they buy you precious time to sort out why the leak is happening. Sometimes these quick fixes lower indoor moisture enough that musty smells or mystery damp spots disappear—at least until the next big rain. Keep a watch for new leaks after storms and skip the panic next time you head downstairs.
Permanent Solutions for Stopping Leaks
If you want to stop a foundation leak for good—not just slap on a band-aid—you’ll need to go deeper than sopping up water or spraying some sealant. At the core, you need to fix the foundation leak at its source. That means handling both outside pressure and plugging up the ways water sneaks in.
First, get honest about where the water’s coming from. Most homes leak because of three big culprits: busted drainage, cracks in the concrete, or hydrostatic pressure (that’s when water in the dirt pushes so hard against your foundation it forces its way in). Fix those, you’re miles ahead.
- Exterior Waterproofing: This one’s the gold standard. It involves exposing your foundation from the outside, cleaning it up, then coating it with a waterproof membrane. Many pros also slap on a drainage board. It’s not a cheap DIY job, but it lasts. According to the International Association of Certified Home Inspectors, “Properly installed exterior waterproofing can keep basements dry for 25 years or more.”
- Interior Drain Tile Systems: Picture a hidden gutter system buried around the inside edge of your basement. It catches water before it hits your floors and sends it straight to a sump pump. Forbes Home reports that adding one cuts the odds of future leaks by over 85% when done right.
- Epoxy or Polyurethane Crack Injection: For those stubborn cracks, pros inject epoxy or polyurethane. These fill and seal the crack all the way through the wall. If you spot only a hairline, a quality injection job could be all you need.
- Improve Grading and Gutters: Sometimes it’s basic landscaping. Your yard needs to slope away from your house by at least six inches over the first ten feet. Gutters and downspouts should push water at least six feet from your foundation. Believe it or not, clogged downspouts are responsible for more than one-third of indoor foundation leaks.
If you’re comparing options, here’s a quick stats table—based on US remodeling and repair data in 2024:
| Solution | Average Lifespan | Ballpark Cost (per linear foot) | DIY? |
|---|---|---|---|
| Exterior Waterproofing | 25+ years | $90–$200 | No |
| Interior Drain Tile System | 30+ years | $50–$120 | No |
| Crack Injection | 10–20 years | $5–$15 | Yes, for small cracks |
| Grading & Gutter Fixes | 10+ years | $1–$5 | Yes |
And here’s a little advice straight from the Basement Health Association:
“Long-term solutions may seem expensive up front, but choosing the right method for your home almost always saves thousands in avoided water damage and mold cleanup.”
Bottom line—if you want dry floors and no future headaches, these solutions are the ones that actually work and pay off over time. Cutting corners now just means more wet mess tomorrow.
When Should You Call in a Pro?
Mopping up water every few weeks? That’s not just bad luck. While some leaks start small, others explode into big expenses fast. Sometimes, fixing a foundation leak is less about saving money and more about protecting your home from even costlier messes. So, when is the DIY route just not enough?
Here’s when you should pick up the phone and get a foundation repair expert:
- Wide or Spreading Cracks: If a crack is wider than a quarter inch, or you see several new ones popping up, it’s a sign of serious movement.
- Bowing or Bulging Walls: If your basement walls are curving or look like they’re starting to buckle, that’s structural trouble—don’t ignore it.
- Recurring Leaks After Repairs: If you’ve patched things up and water still creeps in, there’s likely a bigger underlying issue.
- Mold or Rot: Smelling that damp, musty funk or spotting black patches? Professionals can check for hidden mold, which wrecks both your house and your health.
- Flooding: Any flooding (even “just a little”) needs immediate expert help. Standing water weakens foundations and raises repair bills.
- Rusty Beams & Hardware: If you see rust on metal beams or hardware below your house, water is finding a way in and starting to damage the structure itself.
If you’re hearing horror stories about basement repairs, look at this: According to HomeAdvisor, the average homeowner spends $4,551 on fixing foundation water issues. But letting leaks linger can drive costs over $10,000, especially if you end up needing mold remediation or major wall repairs.
| Issue | DIY Possible? | Needs a Pro? |
|---|---|---|
| Small hairline cracks | Yes | No |
| Cracks > 1/4 inch | No | Yes |
| Minor seepage (drying quickly) | Maybe | Maybe |
| Mold or musty smells | No | Yes |
| Flooding or pooled water | No | Yes |
| Bulging/bowing walls | No | Yes |
If you’re ever unsure, most foundation pros offer inspections for free or a small fee. Catching a leak early with expert help can save you thousands—plus a whole lot of stress.
Keeping Your Foundation Dry for the Long Run
If you only do quick fixes, water will find its way in again, sooner or later. Long-term protection means being smart about prevention: it’s a combination of looking after your home all year and attacking the usual suspects that mess with your foundation.
Let’s get real—most leaks come from outside. Poor drainage, heavy rain, and even how your landscape is shaped play a huge role. Here are proven steps to stay ahead:
- Foundation leak checks – Walk around your house every season. Look for cracks, flaking, or weird stains along the base walls, especially after storms or snowmelt.
- Gutter and downspout maintenance – Clogged gutters spill water right where you don’t want it. Clean gutters at least twice a year and make sure downspouts run at least 6 feet from your foundation.
- Soil grading – The ground should slope away from your house, not toward it. A slope of 6 inches over the first 10 feet is ideal. Shovel and pack soil if needed—don’t let water pool near the house.
- Sump pump checkups – If you have one, test it before rainy months. Sump pump failures are responsible for more than a third of flood insurance claims in the US, according to the Federal Emergency Management Agency.
- Seal window wells – Water pours in fast through untreated window wells. Install tight covers and make sure the wells are clean and debris-free.
- Waterproof basement walls – Use a good interior sealant on walls and floors. For older homes, exterior waterproofing membranes last longest, but cost more.
Here’s a quick snapshot showing how these steps help prevent costly repairs:
| Prevention Step | Potential Savings (USD/year) | Frequency |
|---|---|---|
| Clean gutters & downspouts | $500-$2,000 (water damage) | 2x/year |
| Grade soil away from house | $1000-$5,000 (foundation repair) | Every 2-3 years |
| Sump pump maintenance | $2,500+ (flood cleanup) | Annually |
| Waterproofing repairs | $500-$1,200 (minor leaks) | Every 5-10 years |
Staying on top of this stuff isn’t just about saving money, though that’s a major bonus. A dry foundation means fewer headaches—no musty smells, no soggy carpets, and no freak-outs every time it rains. If you turn these steps into regular habits, you’ll barely worry about leaks again.