Wall Drilling Tips: Essential Advice for Clean, Safe, and Accurate Holes
When you’re tackling Wall Drilling Tips, practical guidance for making holes in interior walls without damaging structure or finish. Also known as wall drilling guide, it helps homeowners, DIYers, and contractors avoid common mishaps while getting the job done quickly.
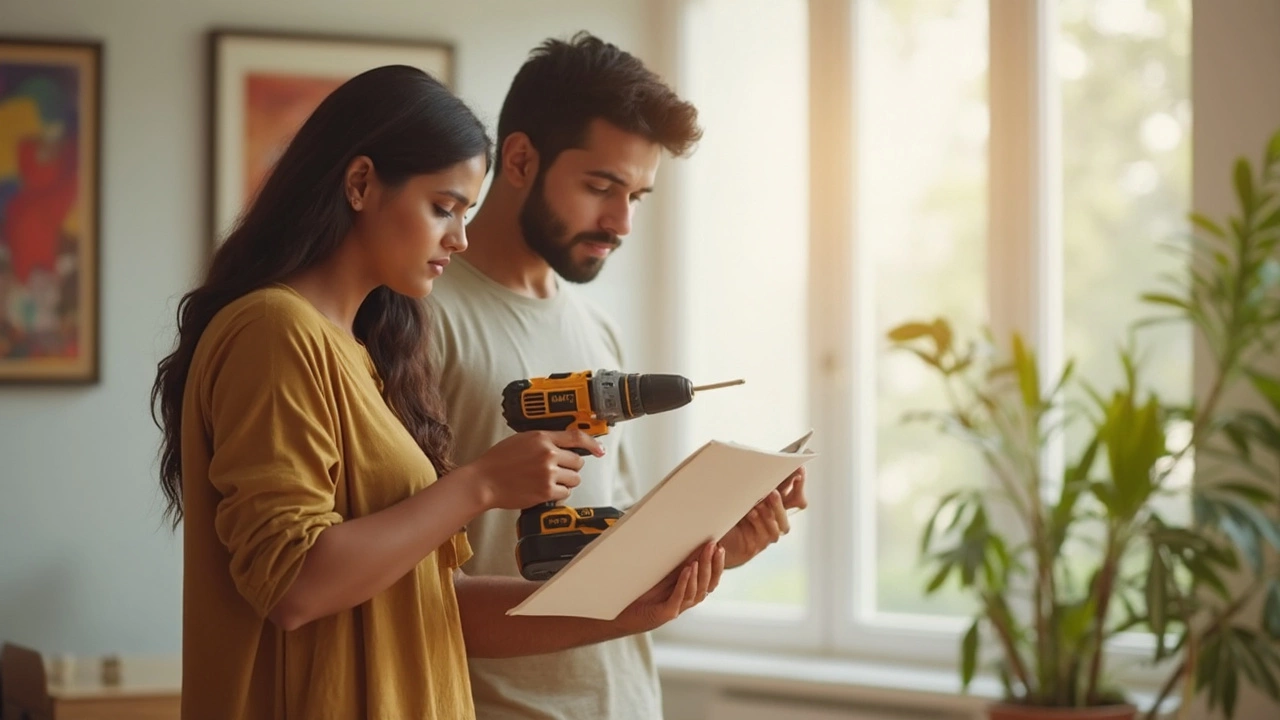
First, drill bits, cutting tools matched to material type and hole size are the heart of any drilling project. A carbide‑tipped bit works best on masonry, while a high‑speed steel bit handles wood and drywall. Choosing the right bit reduces torque, minimizes chatter, and keeps the wall surface clean. Pair that with a reliable stud finder, electronic device that locates framing members behind the wall and you’ve solved two of the biggest headaches: where to drill and what tool to use.
Safety and Preparation: The Foundations of Good Drilling
Every successful hole starts with safety. Wear goggles to protect eyes from dust, and use a hearing‑protective earplug if you’re working with a hammer drill. Before you even plug in the tool, turn off power at the breaker if you suspect electrical wiring behind the spot. A quick test with the stud finder’s live‑wire mode can save you from costly shocks. Once the area is clear, mark the drilling point with a pencil and double‑check measurements—mistakes multiply when you’re off by even an inch.
Next, consider the wall composition. Drywall over wood studs behaves differently from concrete block or plaster. For drywall, a standard bit will glide through the gypsum without much resistance, but you’ll still need an anchor to hold weight. In concrete, pre‑drill a pilot hole with a masonry bit, then insert a sleeve anchor for a secure hold. Understanding material properties lets you pick the right drywall anchor, fastener that expands behind the surface to support loads—whether it’s a simple plastic plug for a lightweight picture or a metal toggle for a TV mount.
Now, let’s talk technique. Start the drill at a low speed to create a shallow guide spot; this prevents the bit from wandering. Once the hole is anchored, increase speed and apply steady pressure—don’t force the bit, let the motor do the work. Every few seconds, pull the bit slightly out to clear debris; this reduces heat buildup and keeps the hole neat. For larger diameters, pause often to let the bit cool, especially when drilling into metal studs.
Tool maintenance also matters. Keep bits sharp; a dulled tip pulls and tears, leaving ragged edges that can crack plaster. Clean dust from the chuck and check the battery level on cordless drills before you start. A well‑maintained drill maintains torque, which in turn protects the wall from accidental over‑drilling.
Finally, think about cleanup. A shop‑vac with a fine‑filter attachment grabs most dust, but a damp cloth wiped over the surface removes any lingering grit. This step matters not just for aesthetics but also for safety—tiny particles can cause inhalation issues later.
All these points—selecting the right bit, using a stud finder, wearing safety gear, mastering technique, and cleaning up—form a cohesive set of wall drilling tips that anyone can follow. Below you’ll find a curated collection of articles that dive deeper into each sub‑topic, from anchor selection guides to advanced concrete‑drilling methods. Explore the posts to sharpen your skills and keep your walls looking flawless after every project.
 28 Jun 2025
Thinking of drilling into new build walls? Learn the dos, don'ts, risks, and tips for safe DIY drilling at home. Avoid costly mistakes in your new place.
View More